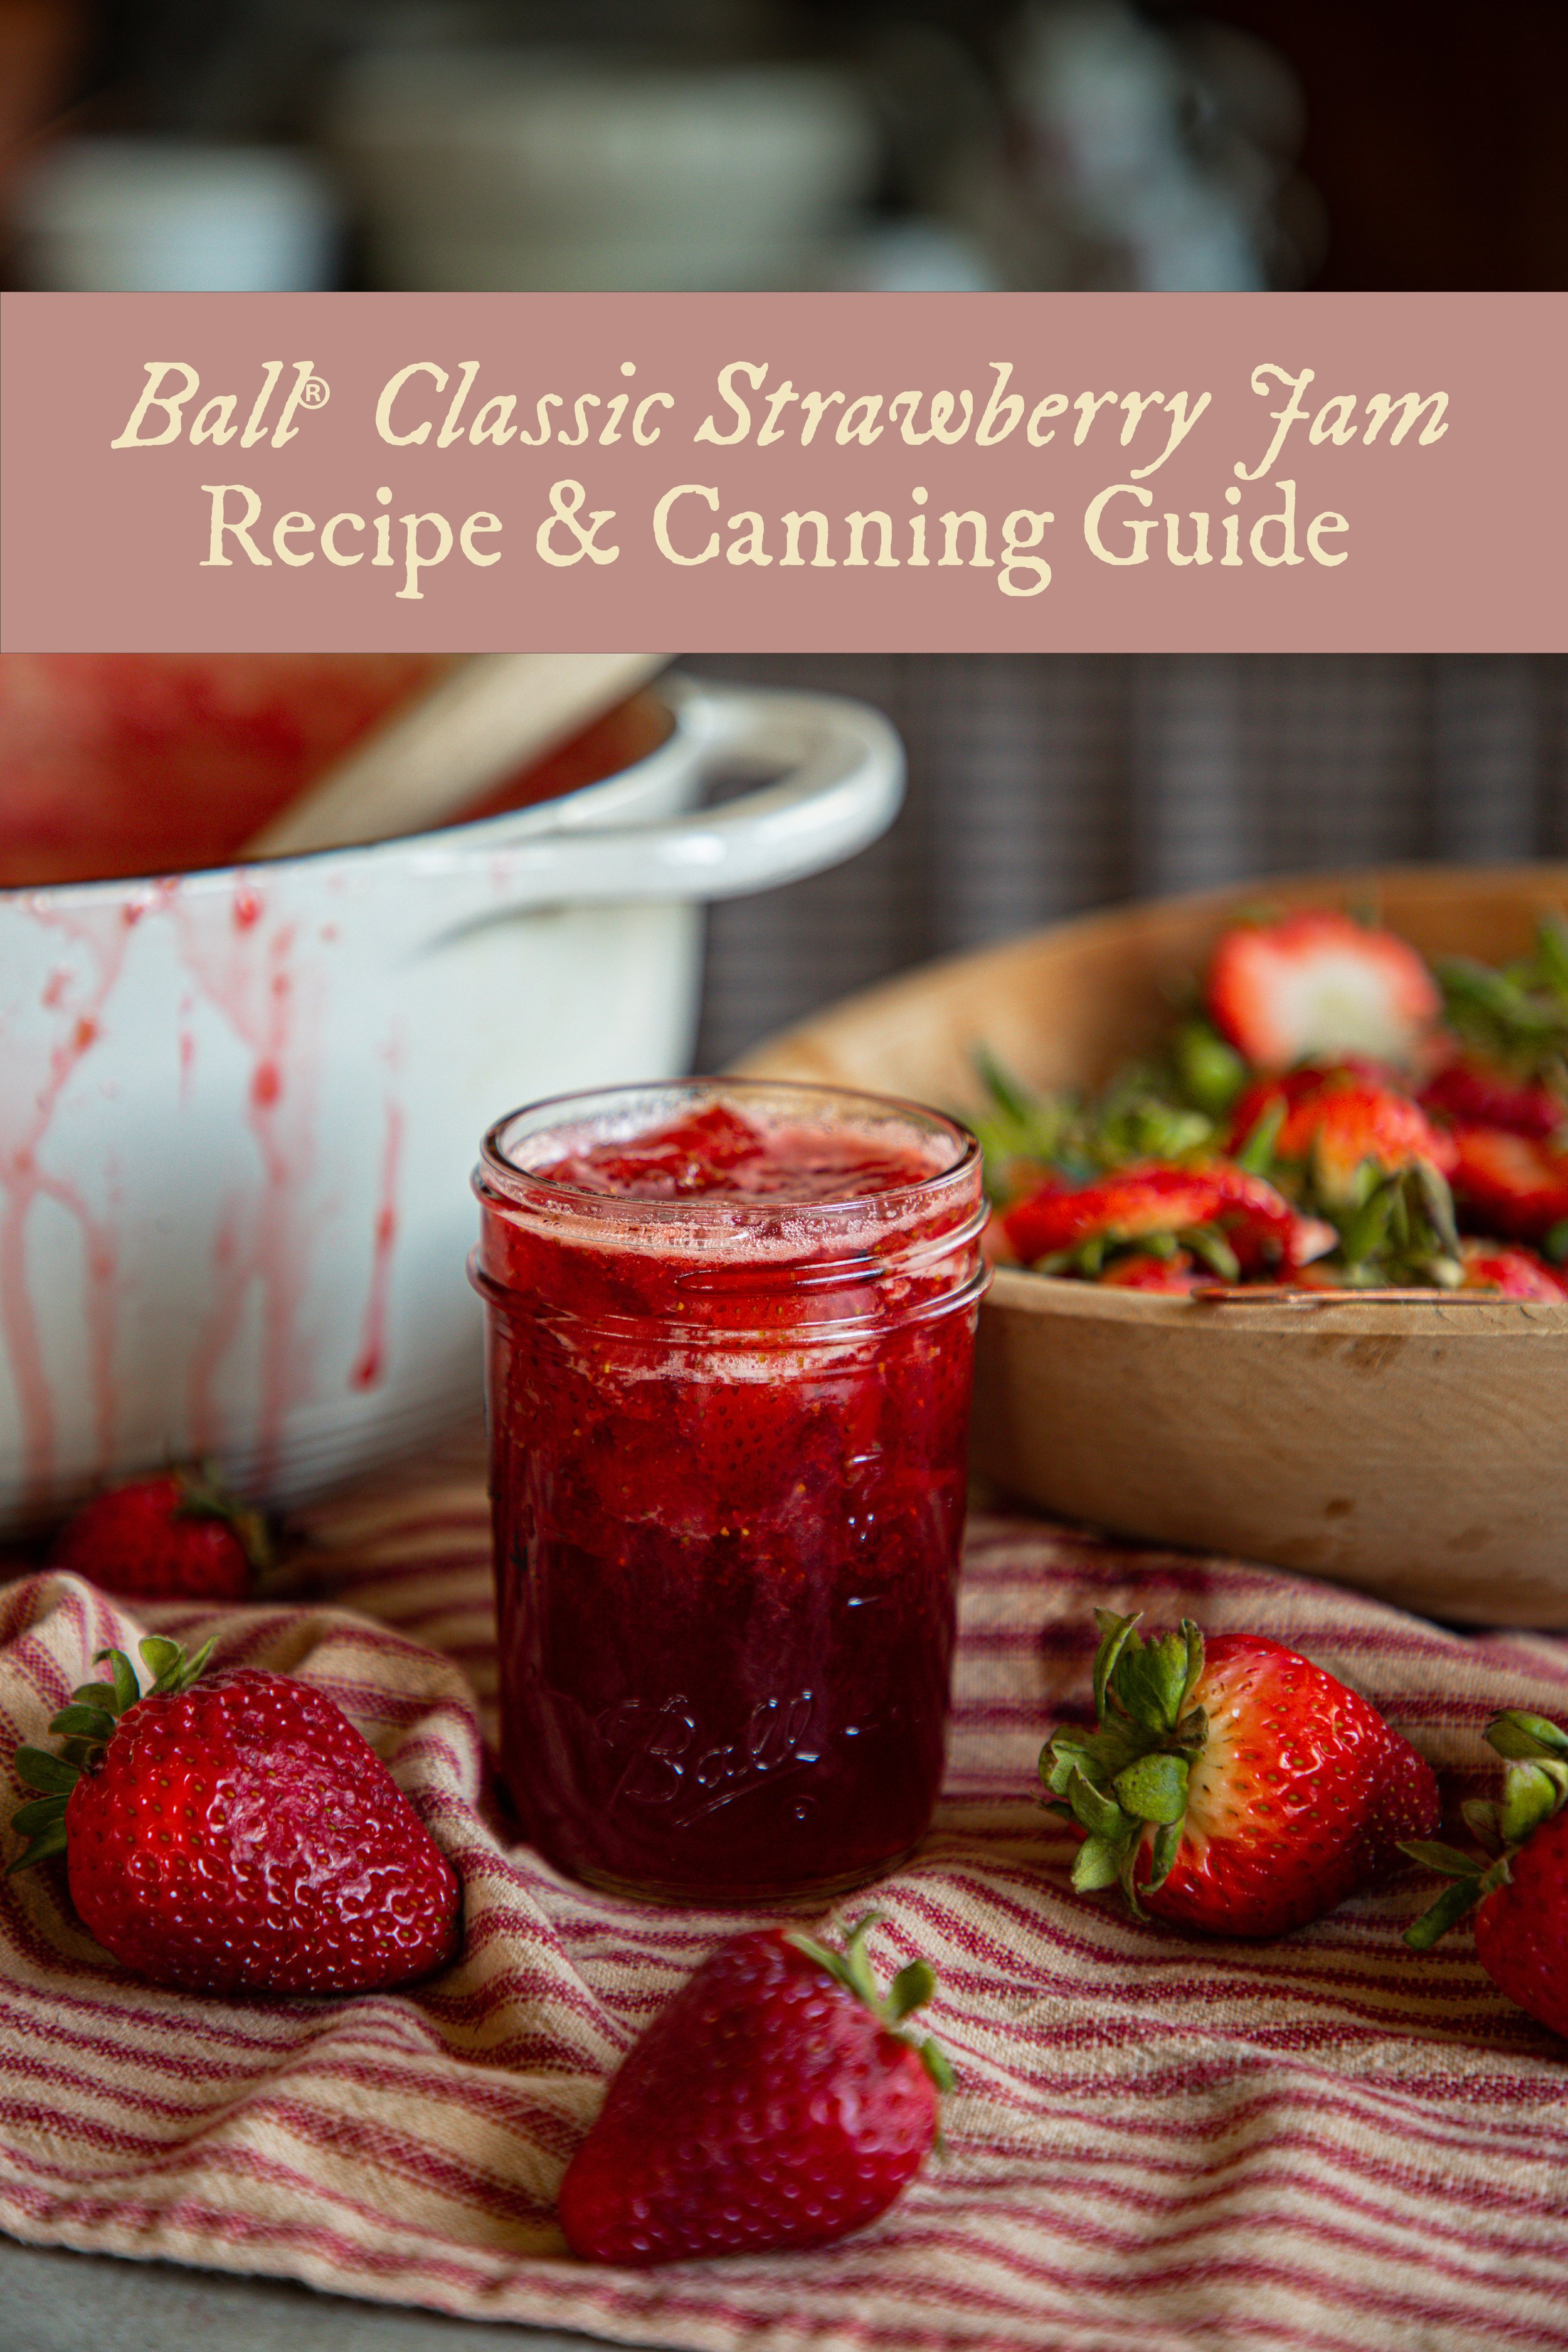
Classic Strawberry Jam: Canning or Freezing Recipe
This post may contain affiliate links, please see our privacy policy for more information.
To kick off the beginning of canning season, I wanted to share a super simple, old-fashioned jam recipe with you. This Classic Strawberry Jam is perfect for the beginner and experienced canner alike. It’s the same go-to recipe that I use each and every year! If you are looking for the perfect way to preserve strawberries, you will love this recipe.
This canning guide includes recipes for canning strawberry jam with and without pectin as well as options for freezing strawberry jam.

A Timeless Summer Preserve
Few things say summer like a jar of homemade strawberry jam. Whether you are picking sun-ripened berries from your own garden or bringing home a flat from the farmers market, turning juicy, ripe strawberries into jam is one of the sweetest ways to preserve this season. This easy canning recipe captures the bright and sweet strawberry flavor in every spoonful— perfect for first-time canners or anyone craving a touch of nostalgia in the kitchen.

Best Strawberries for Jam
Use fresh, ripe strawberries with deep color and aroma to preserve them in jam. For the best results:
Choose small to medium sized berries— they are often sweeter and less watery.
Avoid overripe or mushy fruit (save those for fruit butter or sauce)
Frozen berries work in a pinch, but they may take longer to set due to extra moisture
Pro Tip: Locally grown or just-picked berries from the garden make the most flavorful jam as they were not picked too early!
Click here to read my guide with Tips for Harvesting and Storing Fresh Strawberries.

Canning Tips for Strawberry Jam
Use a wide, stainless steel pan to encourage even cooking and faster water evaporation.
Stir often and watch for bubbling over— jam foams quickly and can overflow!
Before filling jars, skim off any foam for the clearest finish and to avoid any bacteria in your preserves.
Test for doneness using a cold plate (spoon the jam onto the plate and watch for it to wrinkle) or an instant read thermometer (220°F at sea level).
Canning Safety notes
Strawberry jam is safe for water bath canning due to its high natural acidity and sugar content.
Follow tested recipes and USDA guidelines to ensure safety.
Use new lids for canning. Most canning jar companies only recommend using lids once, in case that seals become damaged after storing food in a previous season. Using old lids can result in a false seal and spoiled food.
Assembly line can rather than batch canning. This means filling one jar at a time rather than filling all of the jars at once. This ensures that the jars stay hot, keeping them from going through temperature shock when being put into the water bath canner.
Use plastic utensils to prevent cracking your jars.
Process jars in a boiling water bath for 10 minutes (adjust for altitude as needed).
Always use new lids and clean jars to ensure a strong seal.
Canning supplies you’ll need
Canning Jars, New Lids, and Bands. I prefer to use Ball® jars, lids, and bands. You will need new canning lids to safely can your green beans. Do not can with used lids, as the seals can be damaged. For this recipe, you will need 4 oz or 8 oz jars.
Large Pot. You will definitely want a large sauce pot with a lid to cook down your strawberry jam. I prefer using enameled cast iron for cooking jam like this one or this one.
Jar Lifter. You will definitely want this tool to help lift the hot jars in and out of the canner!
Canning Funnel. A funnel can be nice to have to avoid spills. Use a nonmetallic funnel to avoid breakage.
Nonmetallic Spatula. Another tool that can be helpful to avoid breakage of your jars, and it can be great for removing air bubbles.
Headspace Measurer. This tool is made to easily measure the headspace of your food, which is necessary for low-acid canning to avoid siphoning! It can also double as an air bubble popper.
Instant Read Thermometer. Optional, to test for doneness.
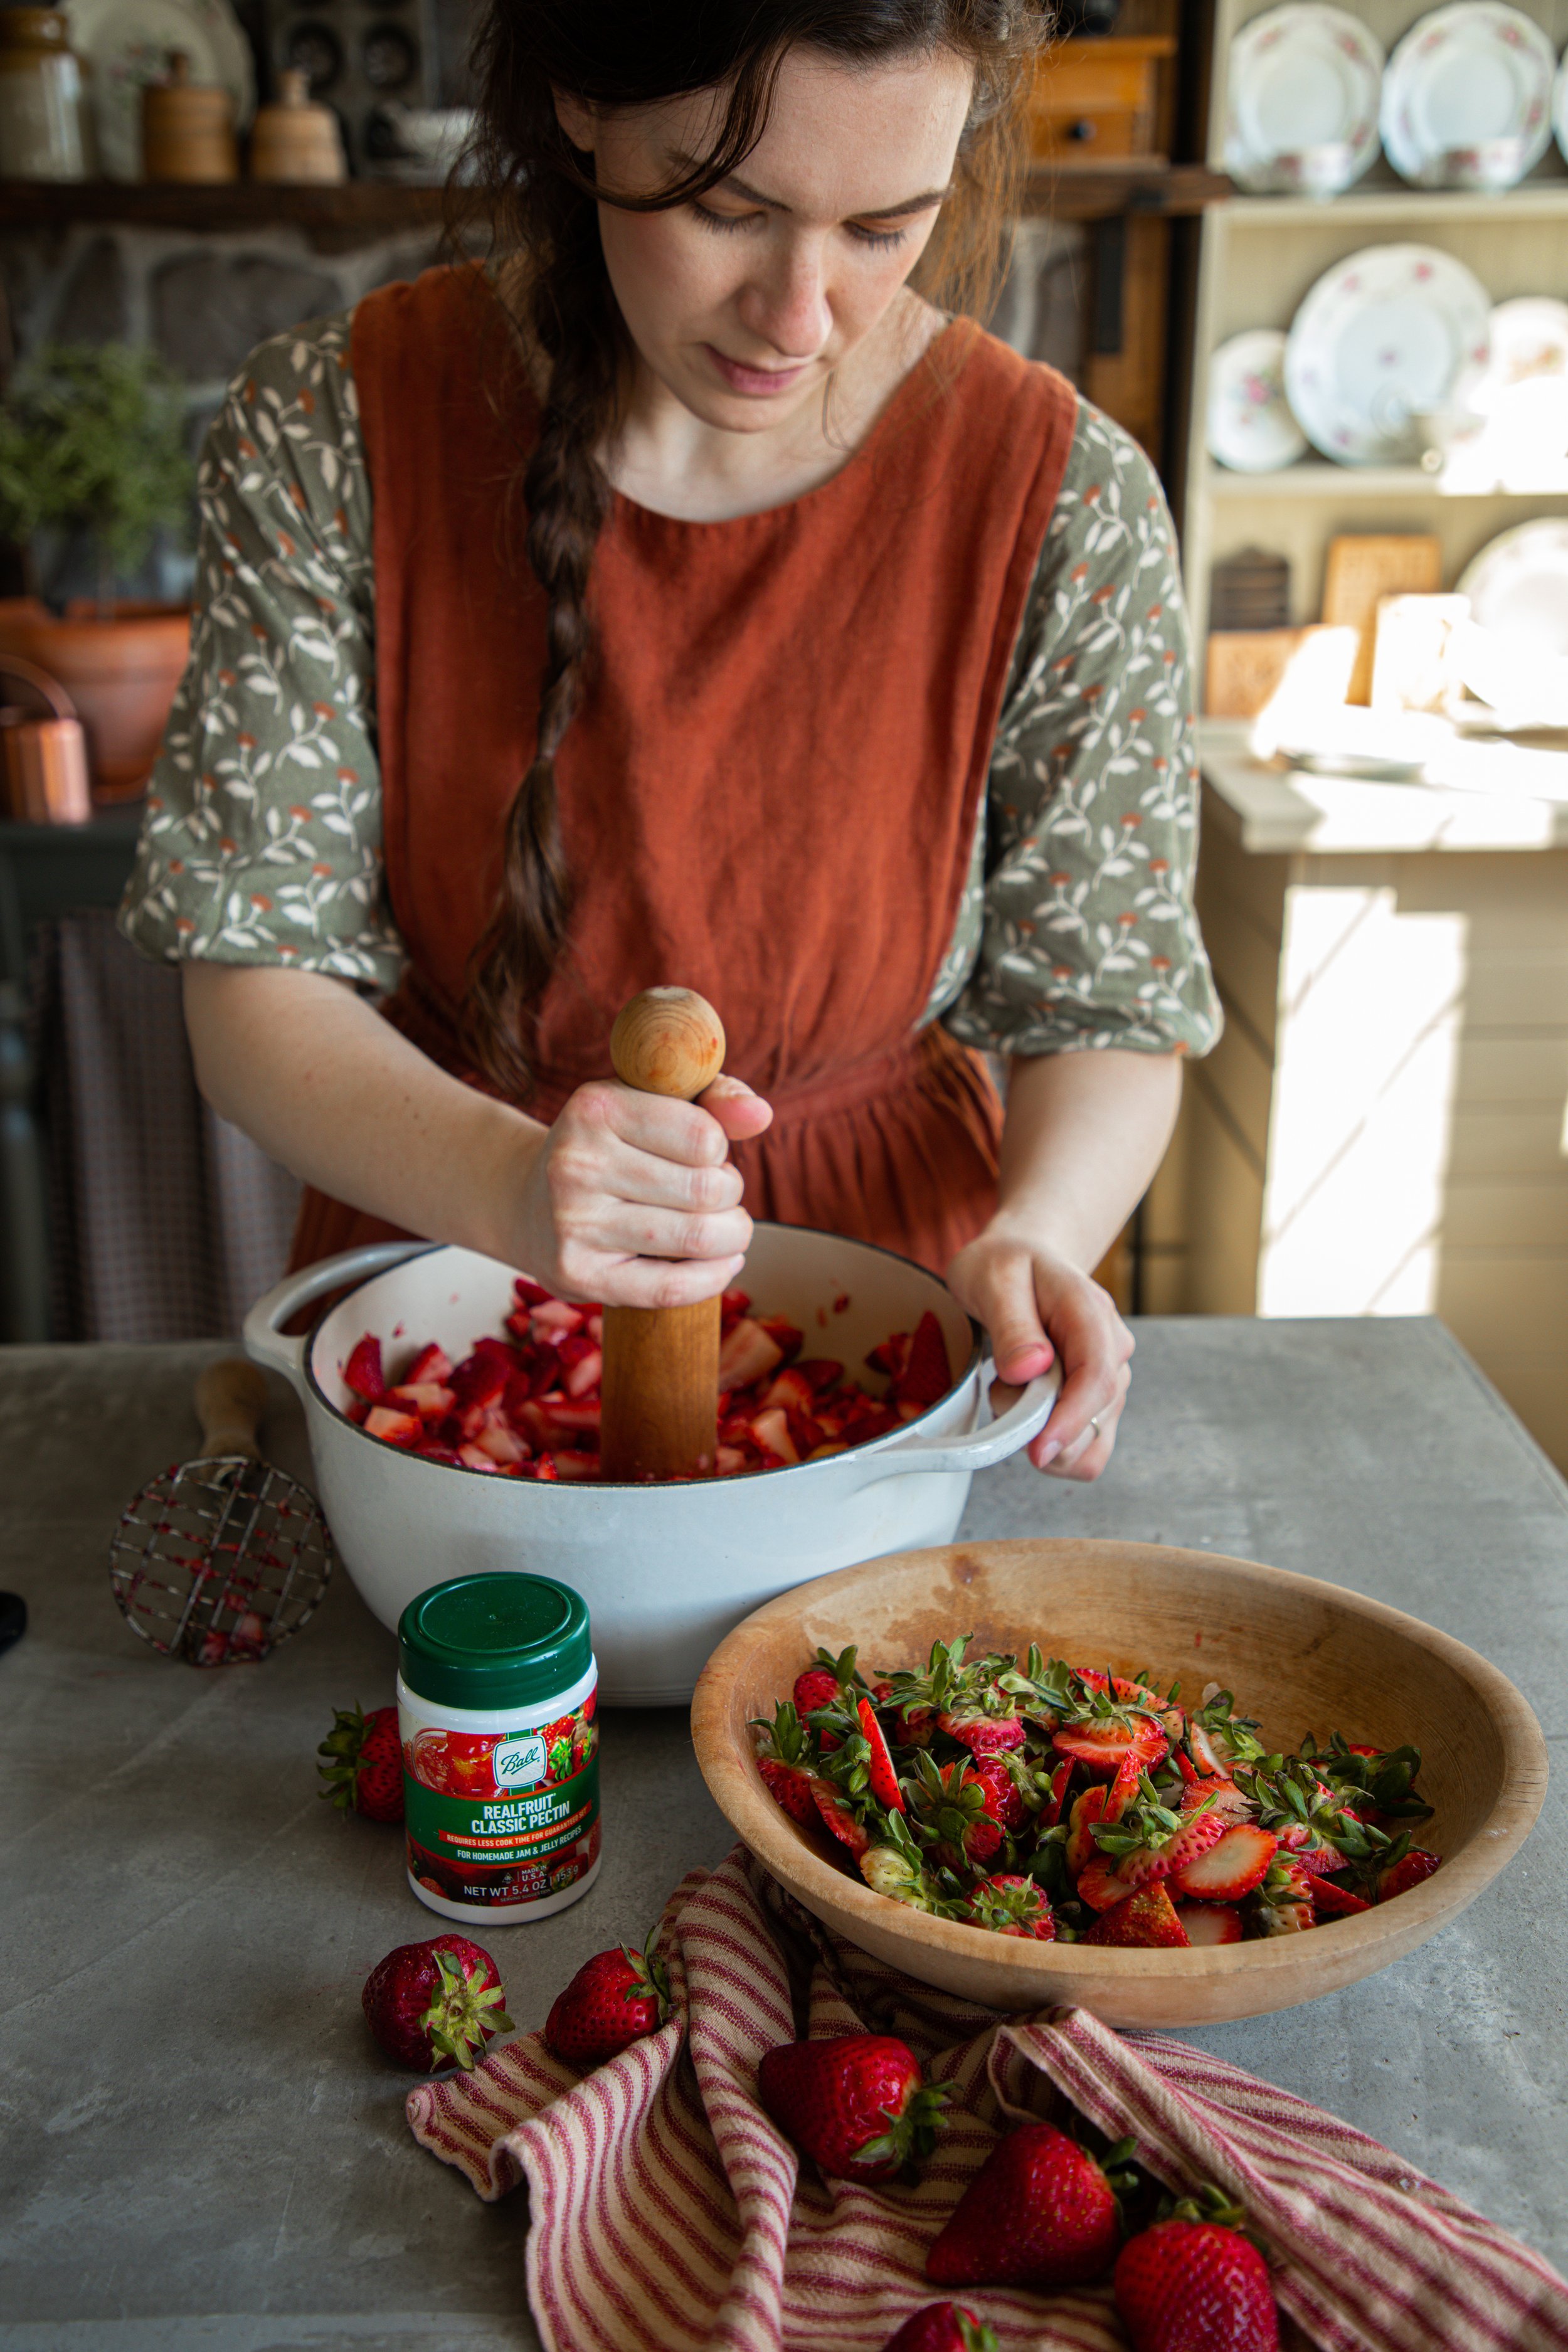
Potato Masher or Immersion Blender. To mash the strawberries down.

How to Can Strawberry Jam
Step One: Begin by preparing your canning pot, jars, lids, and bands. You will want to get the canning preparation started before you make your jam as the cooking part is rather quick, and it always takes a long time for the canning pot to heat up. Simmer the jars for at least 10 minutes in the hot water bath before filling.

Step Two: Wash and rinse berries thoroughly before cooking. Do not soak. For the best flavor, use fully ripened fruit. Remove stems and blossoms and crush. Always measure the berries crushed.

Step Three: Combine strawberries and sugar in a 8 to 10 quart saucepan. Bring the fruit to a full rolling boil that cannot be stirred down, over high heat, stirring constantly.


Step Four: Continue to boil until the mixture thickens and reaches the gel stage (220°F at sea level). Remove the jam from heat and skim off any foam.* Then, begin the canning process as follows:

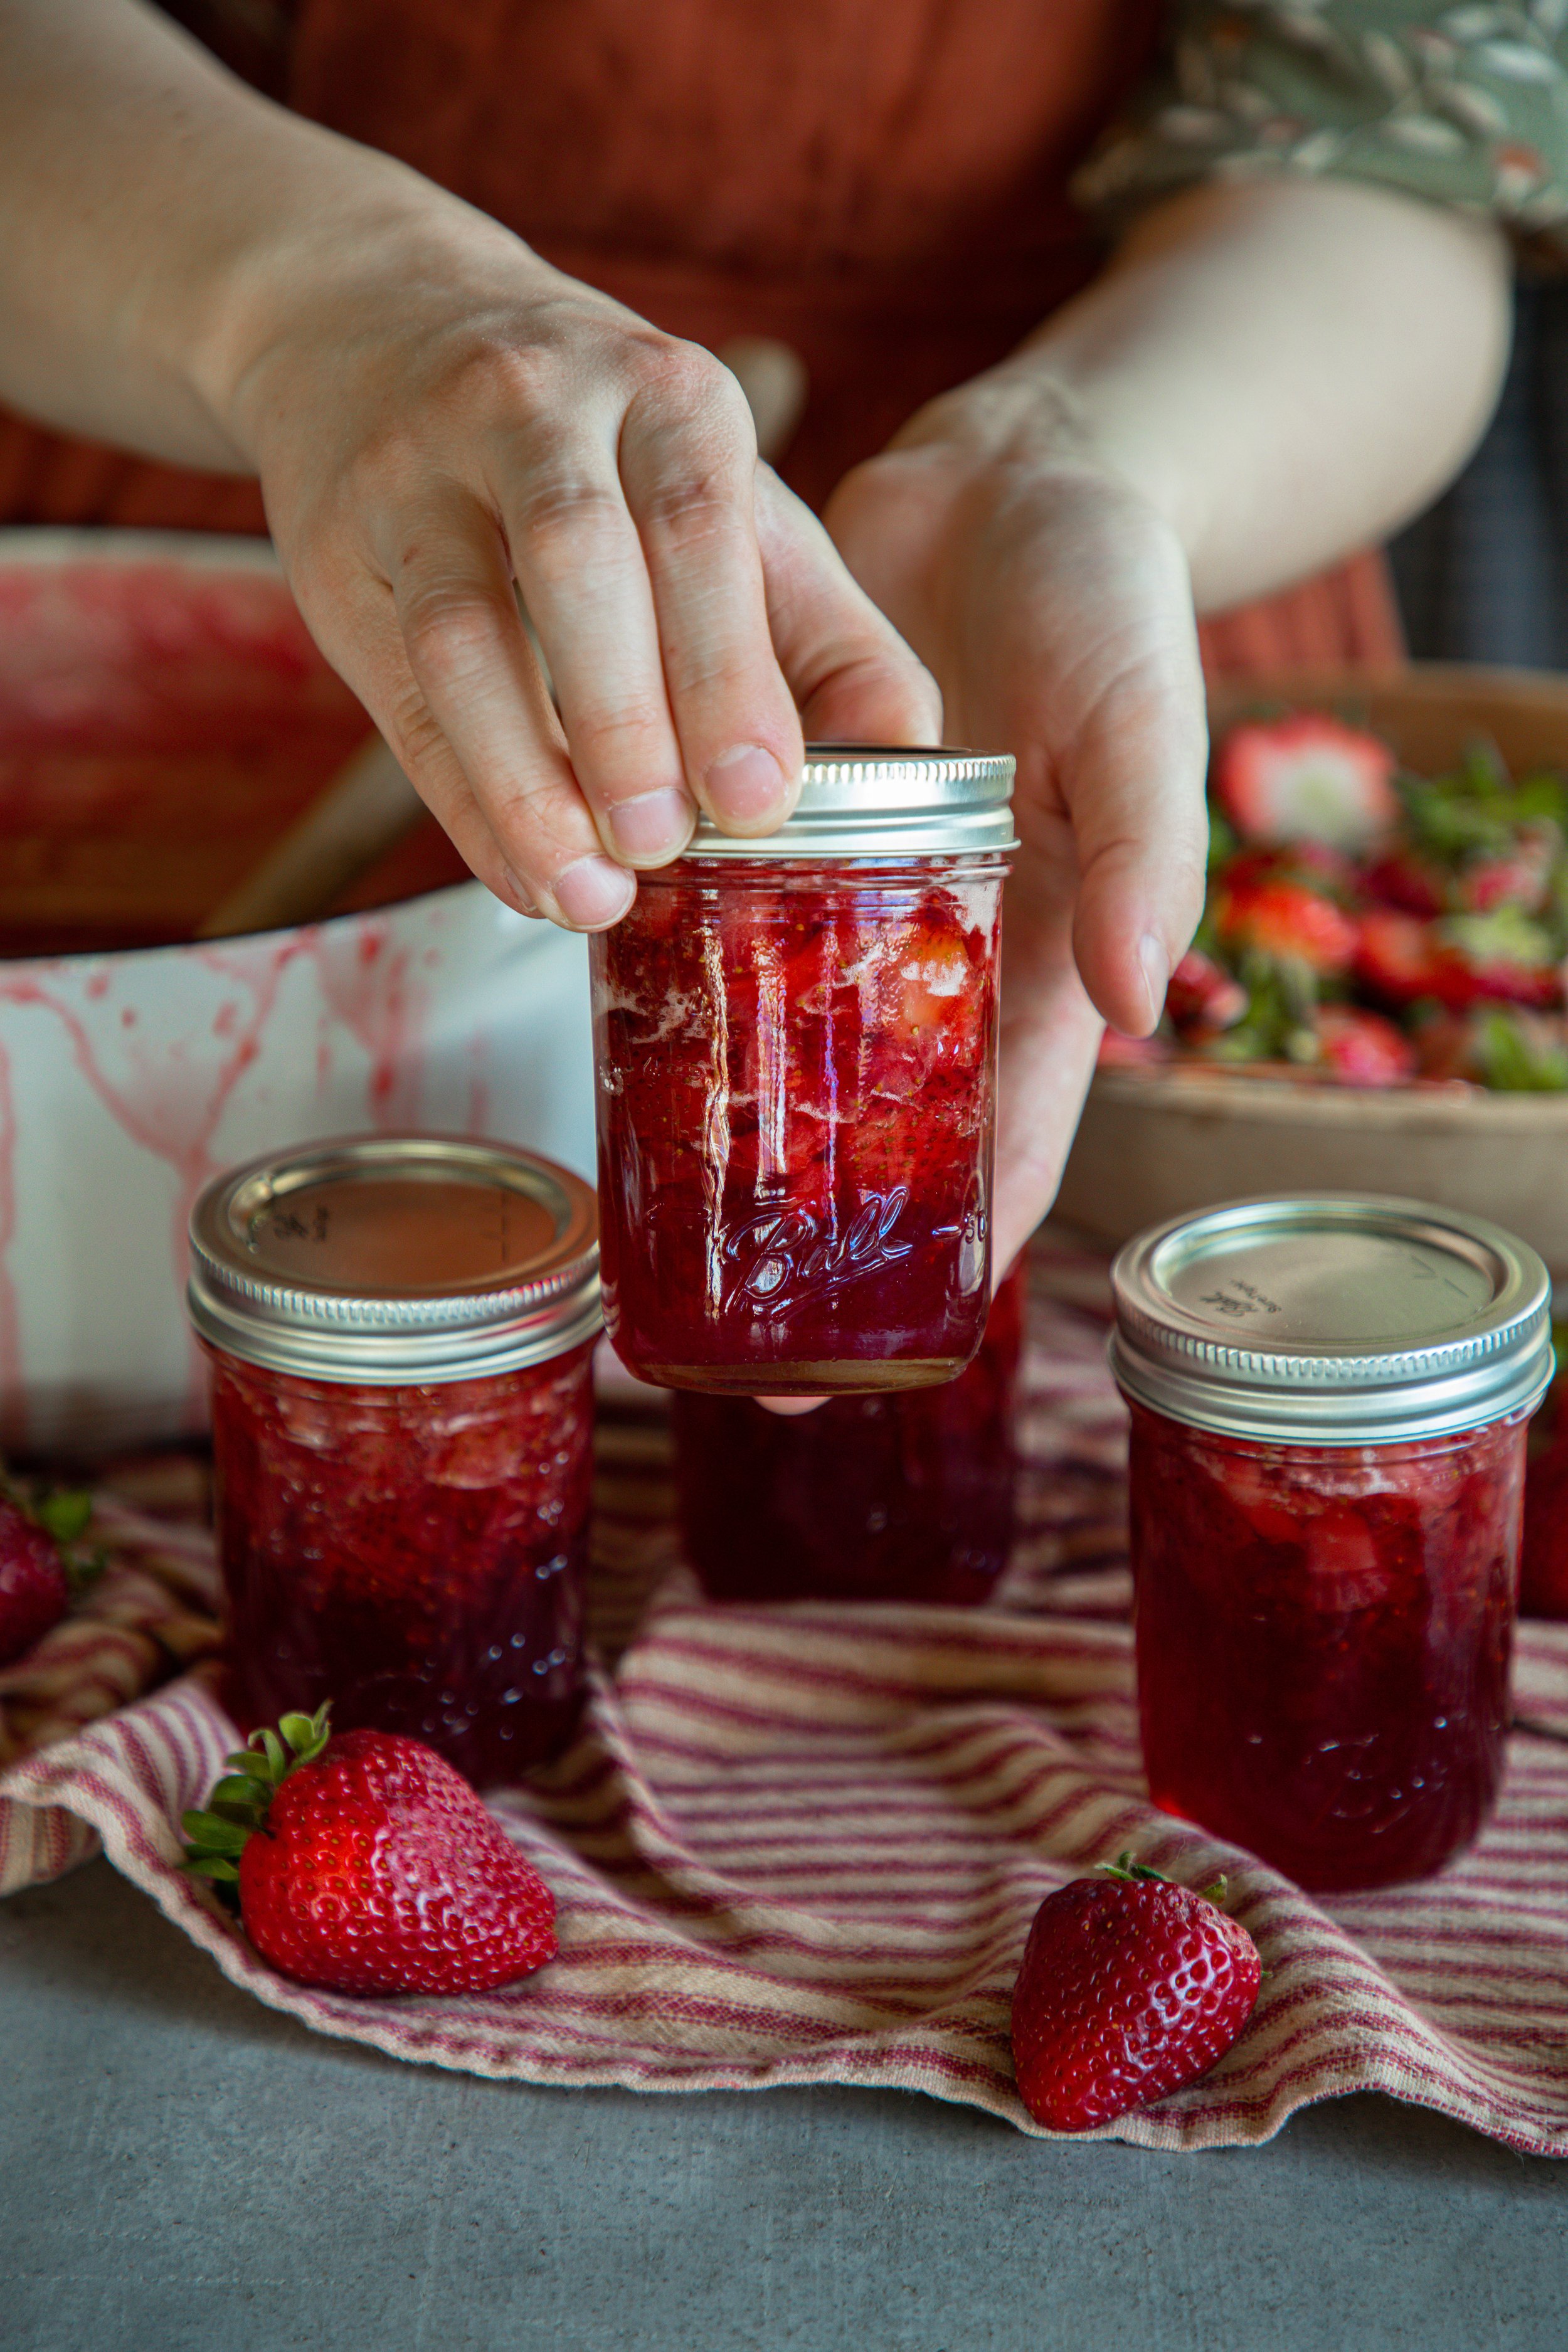
Step Five: Remove a prepared jar from the canning pot with a jar lifter and place it onto a clean towel laid on the counter. Ladle hot jam into the hot jar leaving a ¼ inch headspace. Remove air bubbles by poking around with a small silicone spatula. Wipe jar rim with a clean, damp paper towel. Center the lid on the jar and apply the band, adjusting to fingertip tight. Place the jar back into the boiling water canner. Repeat this process until all of the jars are filled.
Step Six: Once all of the jars are filled, place the lid on the canner and turn up the heat to a full rolling boil. Once the water is boiling, process the jars in the canner for 10 minutes (adjusting the time for your altitude) and do not open the lid.


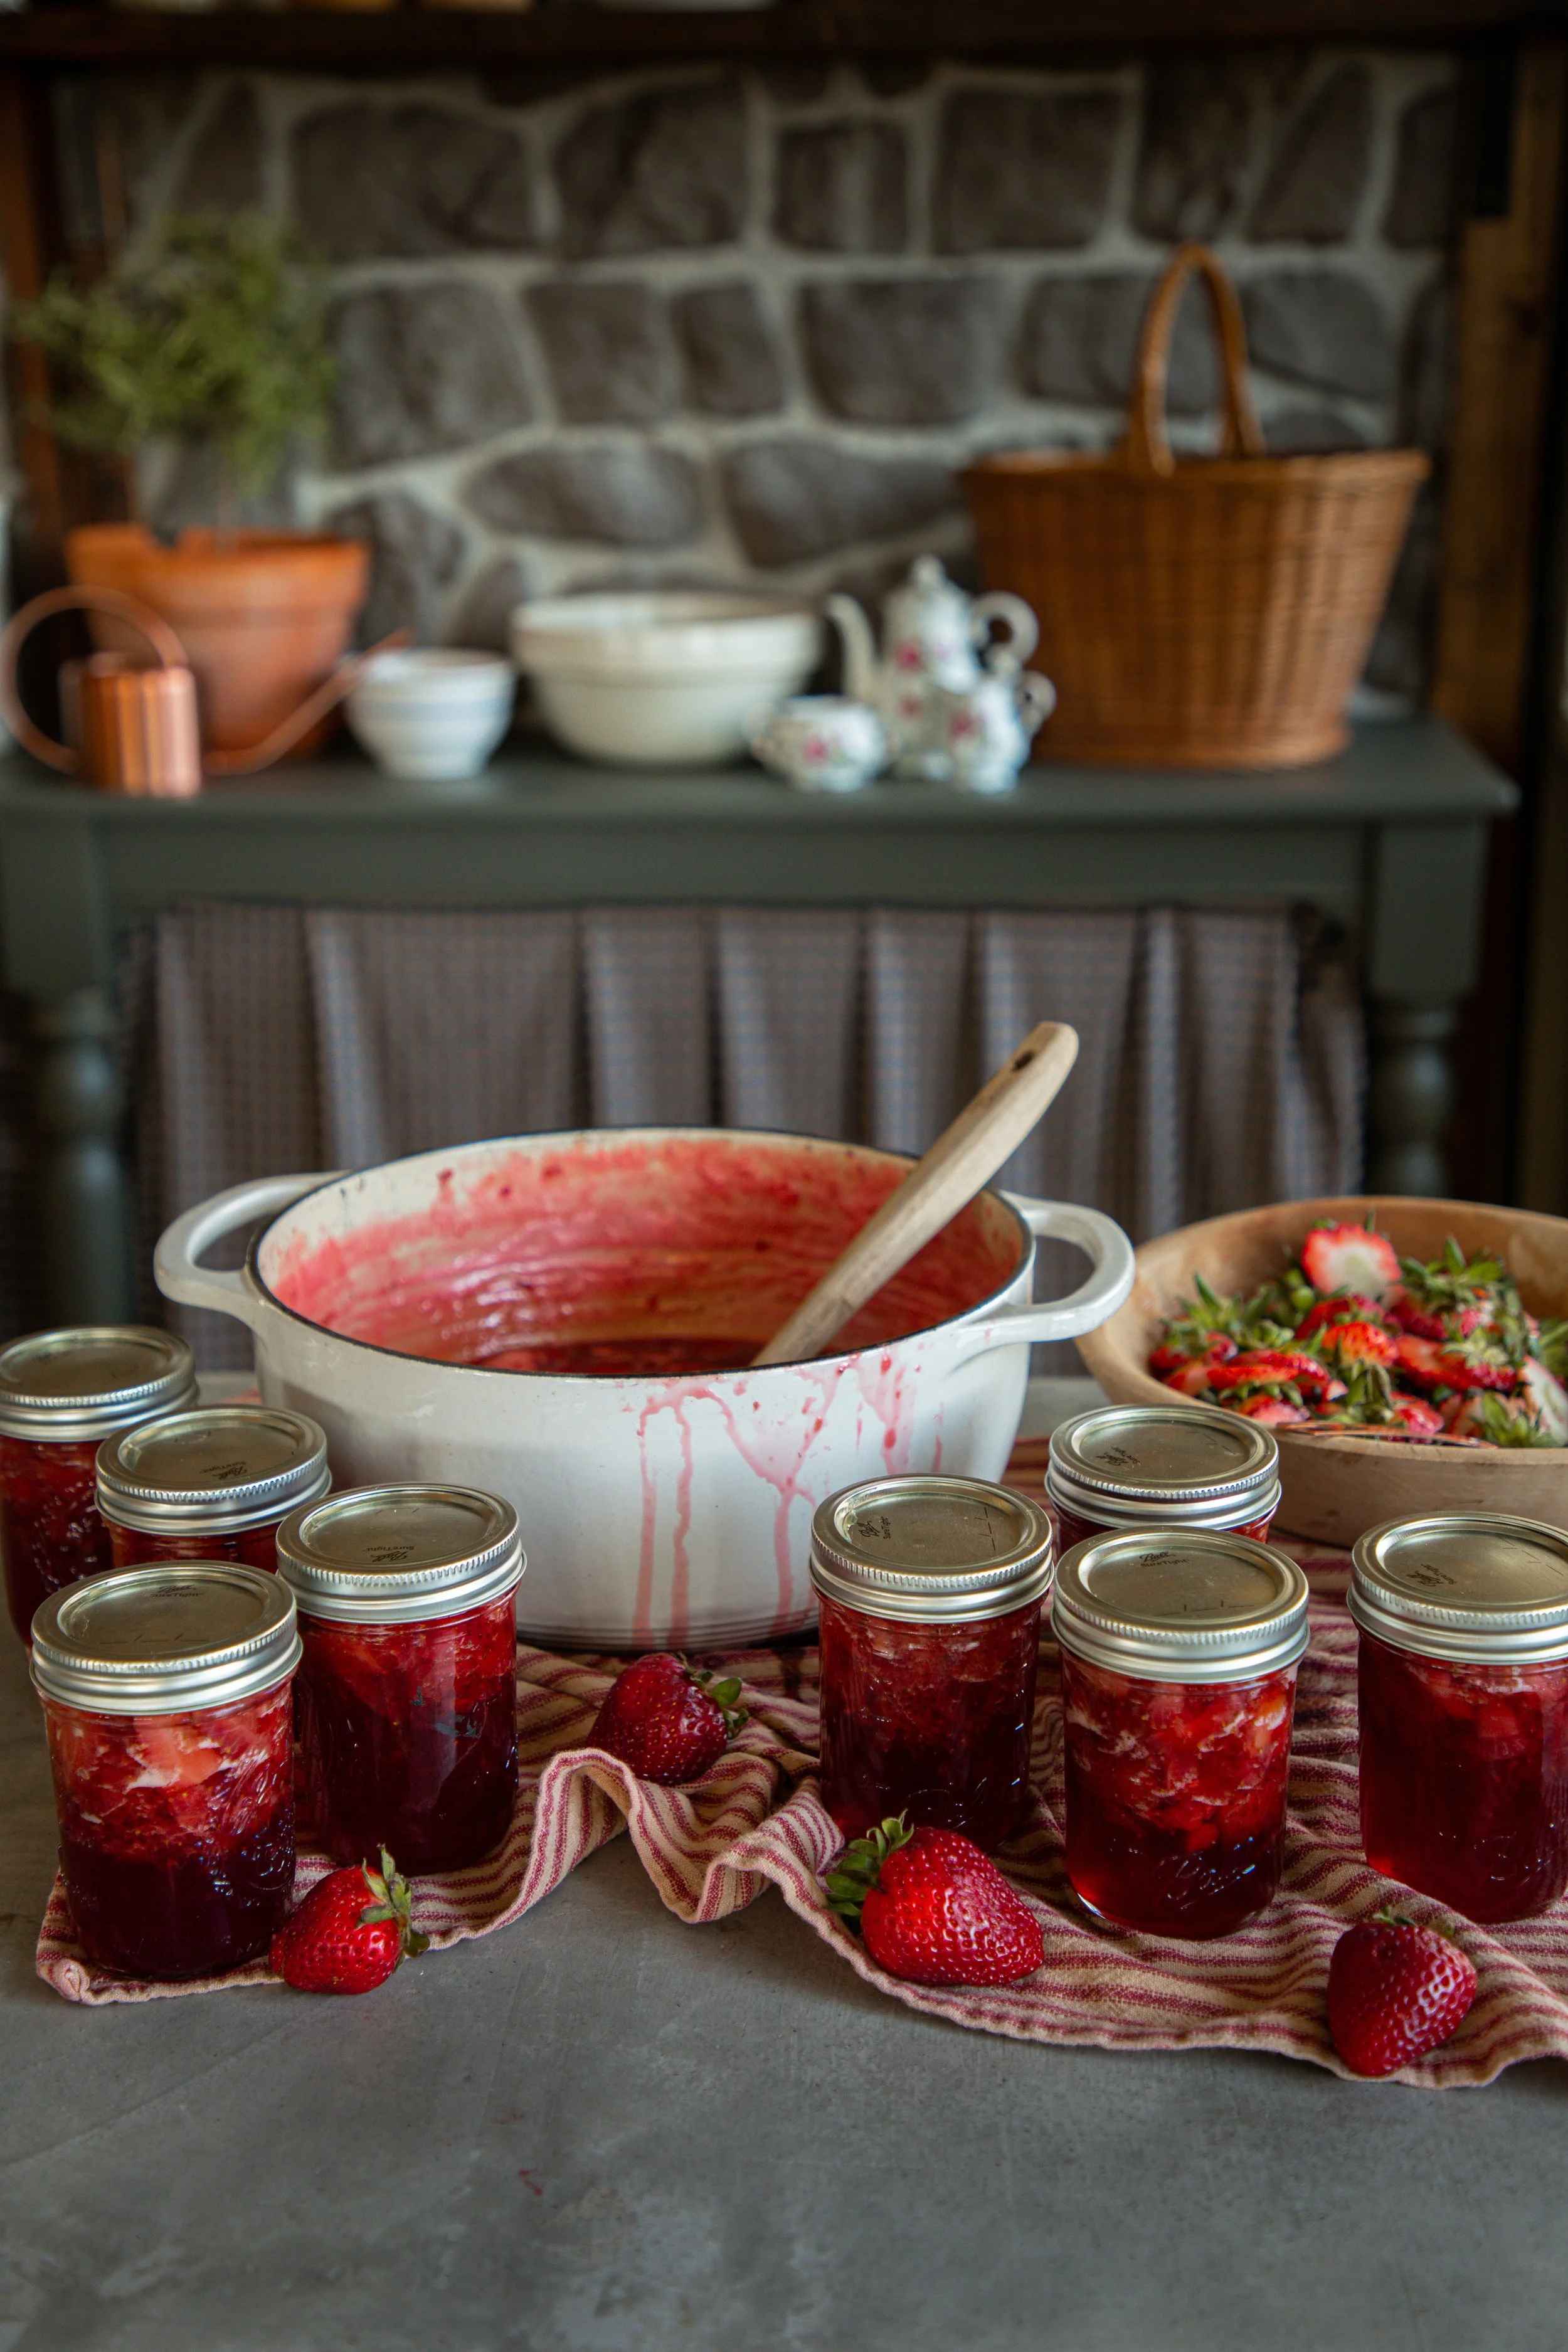
Step Seven: After 10 minutes, turn off the heat. Remove the canner lid. Leave the jars in the canner for a further 5 minutes before removing and setting on a towel on the countertop.
Step Eight: Remove the rings and check the seals after 12 to 24 hours. The seals are good if the jars can be lifted by the edges the lid about 1 to 2-inches over the counter without falling off, and the centers of the lids do not flex.
Alternate Preservation Methods
If you don’t wish to can your strawberry jam, you can:
Refrigerator Jam: Make the jam according to the directions above. Store the finished jam in airtight containers, letting cool to room temperature before chilling. Refrigerate for up to 3 weeks.
Freezer Jam: Make the jam according to the directions above, letting cool to room temperature. Pour the cooled jam into freezer-safe containers, leaving at least 1/2-inch headspace for expansion. Freeze for up to 1 year. Thaw in the refrigerator before using.
Pro Tip: Freezer jam has a softer set and extra-fresh flavor!
Storage Instructions
Store sealed jars in a cool, dark pantry for up to 18 months or longer.
Opened jars can be kept in the fridge for 2 to 3 weeks.
Frozen jam lasts in the freezer up to 1 year and should be refrigerated once thawed.

Variations
Add a splash of vanilla extract or balsamic vinegar for extra depth of flavor.
Infuse with lemon zest or fresh mint before cooking.
For reduced sugar jam, use a low-sugar pectin and adjust to taste.
Serving Suggestions
Spread your homemade strawberry jam over warm buttermilk biscuits, drizzle over vanilla ice cream, or use it as a glaze for cakes and pastries. Try your delicious jam with these summer recipes:
Final Thoughts
I hope that you enjoy this homemade strawberry jam recipe. It’s perfect for the beginning of canning season. Easy to master, endlessly rewarding, and always welcome in the pantry this easy canning recipe for strawberry jam is a tried-and-true classic. Canning strawberry jam is such a timeless and old-fashioned hobby that can be enjoyed by everyone. There is something truly magical about turning a basket of berries into jars of homemade goodness.
xoxo Kayla

Classic Strawberry Jam
This classic strawberry jam is a cozy, sweet-tart preserve perfect for canning, freezing, or spreading fresh from the fridge. A timeless recipe to capture the taste of summer berries.
Ingredients
- 5 lbs (2.26 kg) fresh strawberries, crushed, about 9 cups
- 8 cups (3.5 lbs / 1588 g) granulated sugar
- 5 lbs (2.26 kg) fresh strawberries, crushed, about 9 cups
- 6 tbsp (50 g) classic fruit pectin
- 8 cups (3.5 lbs / 1588 g) granulated sugar
Instructions
- Begin by preparing your canning pot, jars, lids, and bands. You will want to get the canning preparation started before you make your jam as the cooking part is rather quick, and it always takes a long time for the canning pot to heat up. Simmer the jars for at least 10 minutes in the hot water bath before filling. \
- Wash and rinse berries thoroughly before cooking. Do not soak. For the best flavor, use fully ripened fruit. Remove stems and blossoms and crush. Always measure the berries crushed.
- Combine strawberries and sugar in a 8 to 10 quart saucepan. Bring the fruit to a full rolling boil that cannot be stirred down, over high heat, stirring constantly. Continue to boil until the mixture thickens and reaches the gel stage (220°F at sea level).
- Remove the jam from heat and skim off any foam.* Then, begin the canning process as follows:
- Remove a prepared jar from the canning pot with a jar lifter and place it onto a clean towel laid on the counter. Ladle hot jam into the hot jar leaving a ¼ inch headspace. Remove air bubbles by poking around with a small silicone spatula. Wipe jar rim with a clean, damp paper towel. Center the lid on the jar and apply the band, adjusting to fingertip tight. Place the jar back into the boiling water canner. Repeat this process until all of the jars are filled.
- Once all of the jars are filled, place the lid on the canner and turn up the heat to a full rolling boil. Once the water is boiling, process the jars in the canner for 10 minutes (adjusting the time for your altitude) and do not open the lid.
- After 10 minutes, turn off the heat. Remove the canner lid. Leave the jars in the canner for a further 5 minutes before removing and setting on a towel on the countertop.
- Remove the rings and check the seals after 12 to 24 hours. The seals are good if the jars can be lifted by the edges the lid about 1 to 2-inches over the counter without falling off, and the centers of the lids do not flex.
- Store the finished jam in a cool, dark place such as a pantry cabinet for 18+ months.
- Begin by preparing your canning pot, jars, lids, and bands. You will want to get the canning preparation started before you make your jam as the cooking part is rather quick, and it always takes a long time for the canning pot to heat up. Simmer the jars for at least 10 minutes in the hot water bath before filling. \
- Wash and rinse berries thoroughly before cooking. Do not soak. For the best flavor, use fully ripened fruit. Remove stems and blossoms and crush. Always measure the berries crushed.
- Add strawberries to a 8 to 10 quart saucepan. Gradually stir in the pectin, 1 tablespoon (8 g) at a time. Bring the mixture to a full rolling boil that cannot be stirred down, over high heat, stirring constantly.
- Add the sugar, stirring to dissolve. Return the mixture to a full rolling boil. Then, boil the jam hard for 1 minute. Remove the pan from heat and skim off any foam.
- Remove a prepared jar from the canning pot with a jar lifter and place it onto a clean towel laid on the counter. Ladle hot jam into the hot jar leaving a ¼ inch headspace. Remove air bubbles by poking around with a small silicone spatula. Wipe jar rim with a clean, damp paper towel. Center the lid on the jar and apply the band, adjusting to fingertip tight. Place the jar back into the boiling water canner. Repeat this process until all of the jars are filled.
- Once all of the jars are filled, place the lid on the canner and turn up the heat to a full rolling boil. Once the water is boiling, process the jars in the canner for 10 minutes (adjusting the time for your altitude) and do not open the lid.
- After 10 minutes, turn off the heat. Remove the canner lid. Leave the jars in the canner for a further 5 minutes before removing and setting on a towel on the countertop.
- Remove the rings and check the seals after 12 to 24 hours. The seals are good if the jars can be lifted by the edges the lid about 1 to 2-inches over the counter without falling off, and the centers of the lids do not flex.
- Store the finished jam in a cool, dark place such as a pantry cabinet for 18+ months.
Notes
*Gel Stage: To test jam for doneness, it's best to use an instant read thermometer so that you can accurately measure the temperature. Jam reaches the gel stage at 220°F at sea level. You can lower the temperature by 2 degrees for every 1,000 ft above sea level. Other ways to test for doneness would be the cold plate test. Place a plate into the refrigerator until fully chilled. Pour a small amount of boiling jam onto the plate and place it back into the fridge for a few minutes. If the mixture gels and "wrinkles" when touched, it's ready.
**Skimming off Foam: To help reduce excessive foaming, especially if making your jam without pectin, you can safely add 1 teaspoon of butter to the jam, though this can alter the overall flavor over time.